West Bay Woodturners Newsletter is a monthly update on the club activities. This free resource is available to beginner and professional woodturners.
Next Meeting
Wednesday July 17,
7 pm at Bridges Church,
625 Magdalena Ave,
Los Altos 94024

Program
We would like to have a program where we discuss your home made tools, modified or from scratch. As examples, just to get your juices flowing, do you have a homemade sphere jig? Or faceplates, or hollowing jigs, etc? If you have done something, I’m sure someone, if not all of us would love to learn from your experiences.
President’s challenge:
Last meeting Dave showed some piercing done with very nice dentist tooling. I expect most of you don’t have that sort of tool in your shop. However there are cool things to do with any boring or drilling tool. Ex. drill holes at regular intervals using the indexing wheel on your lathe. Make holes of different sizes in random positions. Fill the holes with accent wood dowels, or resin… Let’s see how creative you can get around this “boring” idea.
Upcoming Meetings and Demos
- July 17: tools and jigs
- August 7: picnic at Cuesta Park, Mountain View.
- September 18 meeting: ?
- October 5 (Saturday) demo: Eric Lofstrom, details to follow
President’s Message
I will miss the next meeting, being at a woodworking “summer camp” for 3 weeks. I have returned multiple times to the Krenov School in Fort Bragg for their summer project workshop. It is more focused on furniture and cabinet work, but that brings to mind the importance to seek outside training and education, other that the personal experiences we can have with our own projects. With our club we have opportunities to see professional demos a few times a year, also other members showing their techniques, or the occasional AAW symposium. However taking a dedicated class at a good teaching venue brings another type of experience and inspiration. It lets you go more in depth that a few hour long demonstration, usually with practice and guidance from an expert. Over the years I have taken classes with David Marks, Stuart Batty and others, and always came back with better skills and tons of ideas to try out. So I encourage you, if you can, to treat yourself to a learning vacation once in a while. There are some local and less local opportunities, you can ask Tina about a selection of currently available instructors she visited!
Claude Godcharles
Last Meeting Review
Wednesday June 19, 2024
Woodturners newsletter notes by Laura Rhodes, pictures by Angela Gunn and Roman Chernikov
Announcements
- July meeting will be a discussion about recommended tool brands, tools that members have made or modified, custom jigs. Members are encouraged to bring in customized tools.
- The joint SVW/WBW annual picnic will be held on August 7, 2024, 5pm-8pm, Cuesta Park, Mountain View.
- Eric Lofstrom will be giving a demonstration to the joint SVW/WBW clubs in October.
- Assorted wooden hand planes and other used items leftover from the June 15 sale are available.
- Dennis Lillis announced that a wood art collector in the Los Gatos/San Jose area has offered to give a tour of his collection, said to be the largest collection of wood-turned art west of the Appalachians. This tour will be limited to 40 people, members of WBW and SVW only, and will be held on Friday, August 16, 7pm – 9pm. Look for signups coming soon.
- Kevin Lee noted that there will be a video of the Sally Ault demonstration made available. Look for the link to come soon.
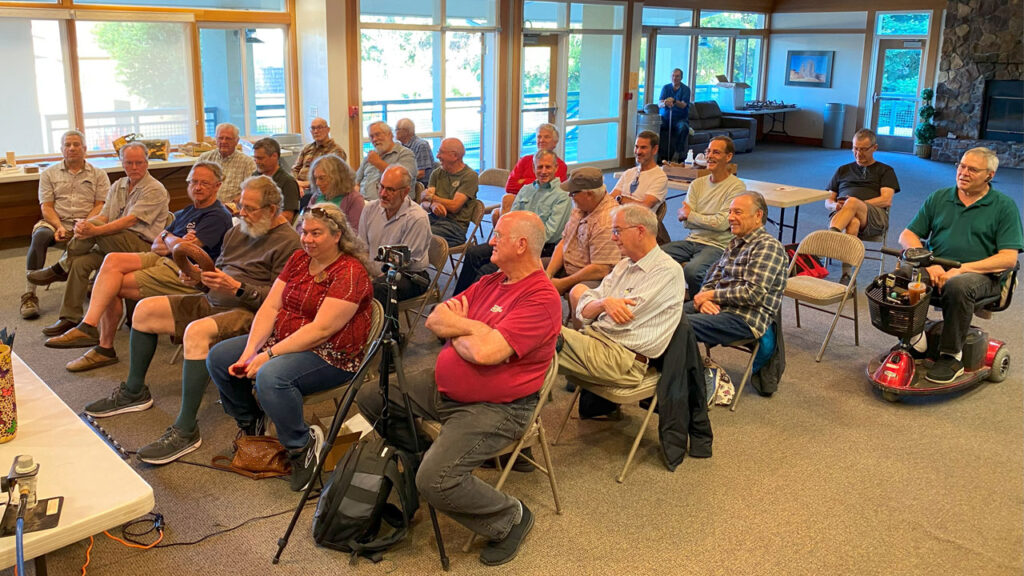
A Piercing Demo by David Vannier
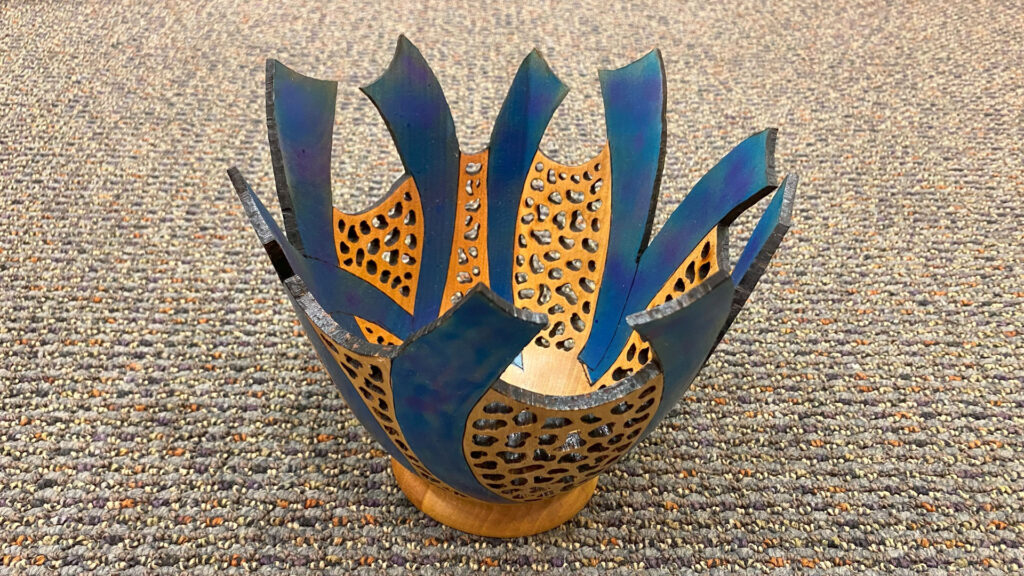
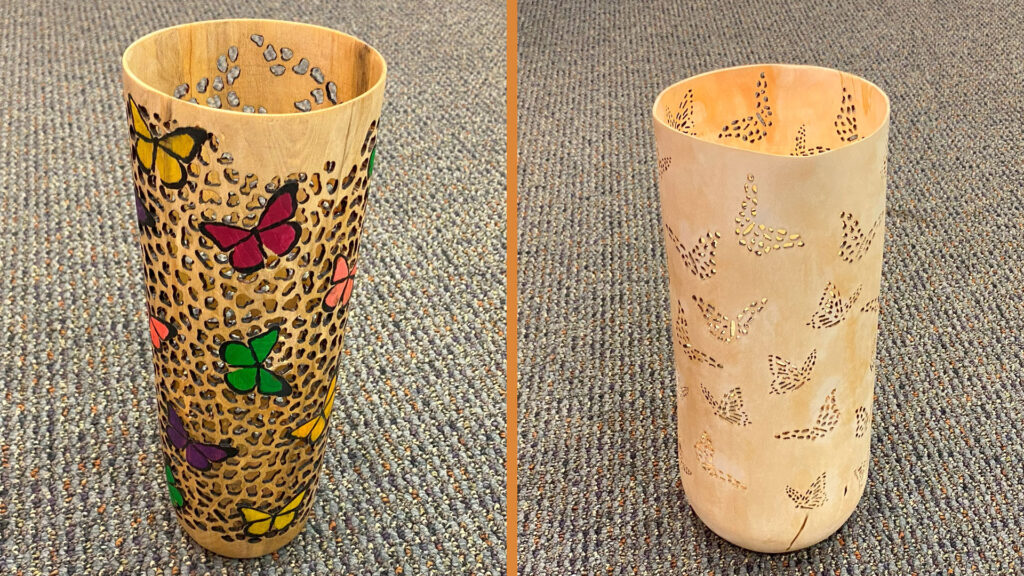
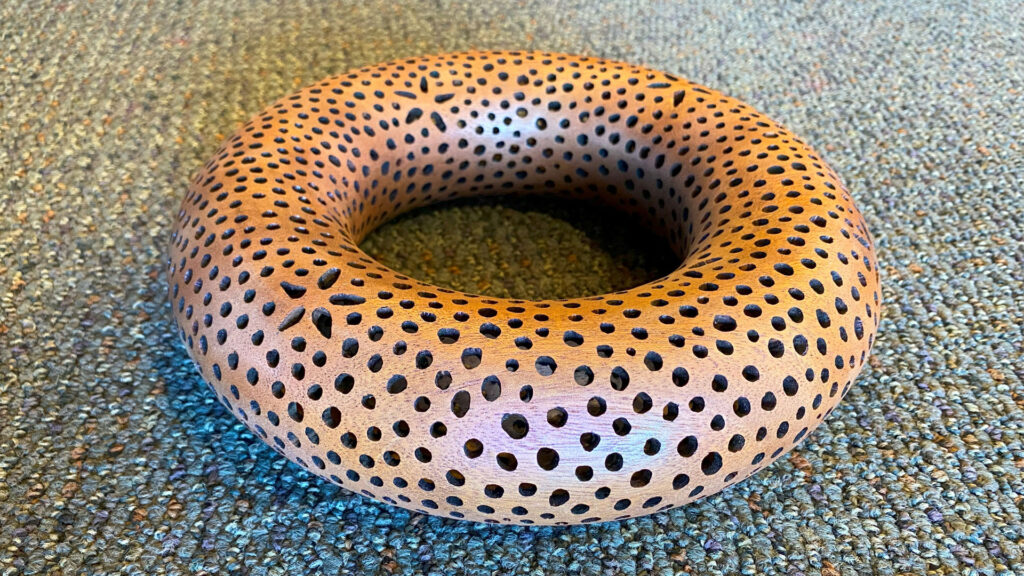
Dave showed several examples of his pierced turnings, including: butterflies pierced into a white cylindrical lamp; a cylindrical form pierced around painted butterflies; a torus with piercings (with the seamline disguised with piercings; and “Finding Dave”, an in-progress bowl with pierced fish shapes (with one fish going the wrong way). He likes using forms from nature. He’s done turtles and wants to do hummingbirds. Dave advises, “Never pierce without a reason.”
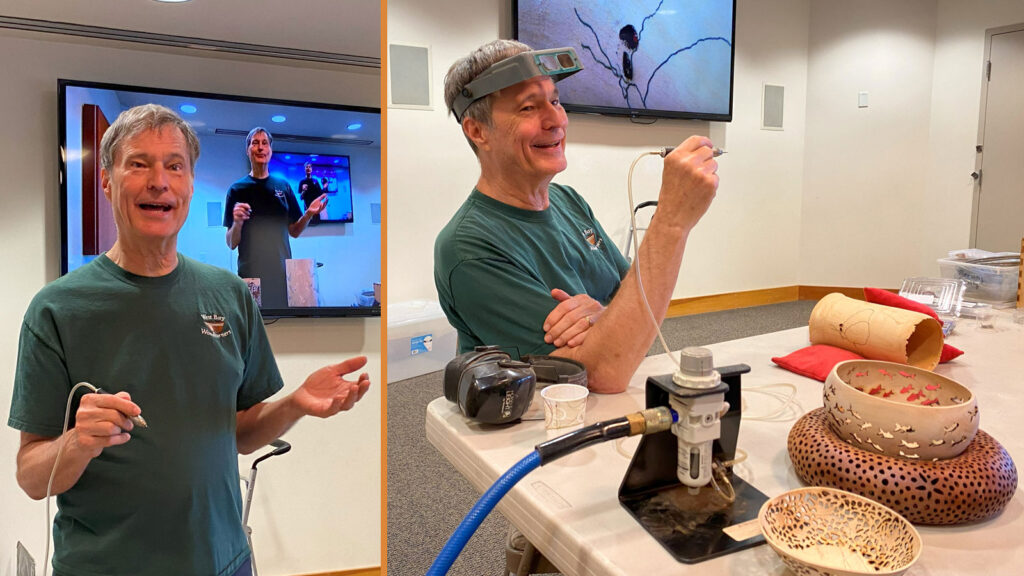
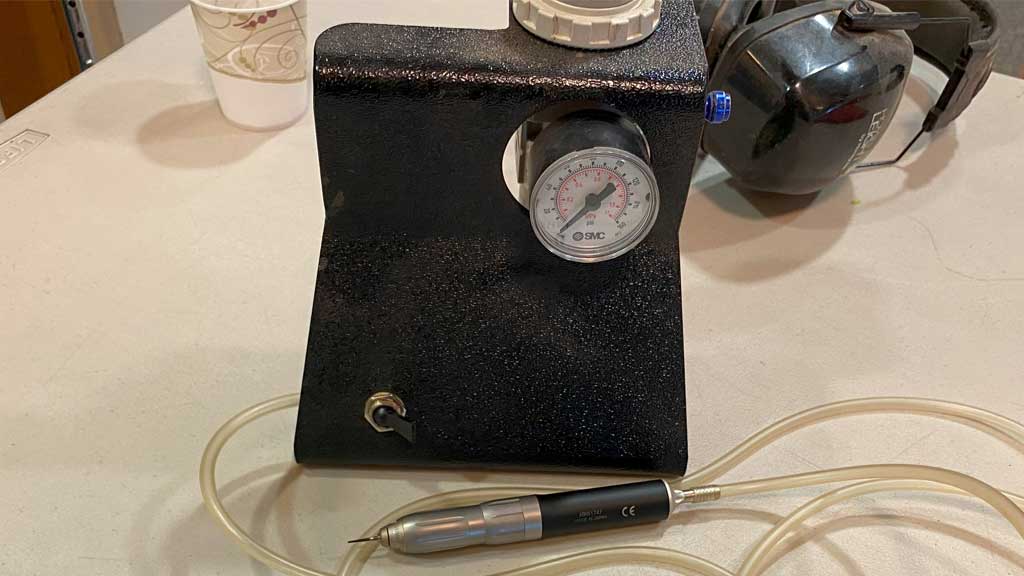
A pierced work begins with a very thin turning. Dave turns the wood green. He often uses birch because its bland color/grain doesn’t compete with the piercings and it can be turned thin. Dave uses a hollowing support system and a HSS teardrop scraper for hollowing. He first hollows the entire interior leaving ½” thick walls. He then takes the wall thickness down to 1/8” thick, starting at the top, working down one inch at a time. He never goes back to previously thin-turned areas. Once the pieces are turned, he constrains movement by: using plastic wrap; putting a hose clamp on the tenon; and keeping the turning in a bag with shavings. Once dry, Dave typically pre-sands his pieces to 200 grit and then sands after piercing with 320 grit. If a piece is going to be wood burned (as opposed to pierced), he typically pre-sands the work to 320 or 400 grit.
Dave uses air powered piercing tools because they can achieve a very high rotational speed. He noted that used dental drills can be very inexpensive. However, the bit is bent over, making it hard to see your work. Also, some of the drills require oil which occasionally “spits” on the wood. To avoid the oil from staining the wood, the wood can be sealed with Shellac. This is a good option if you just want to try out piercing.
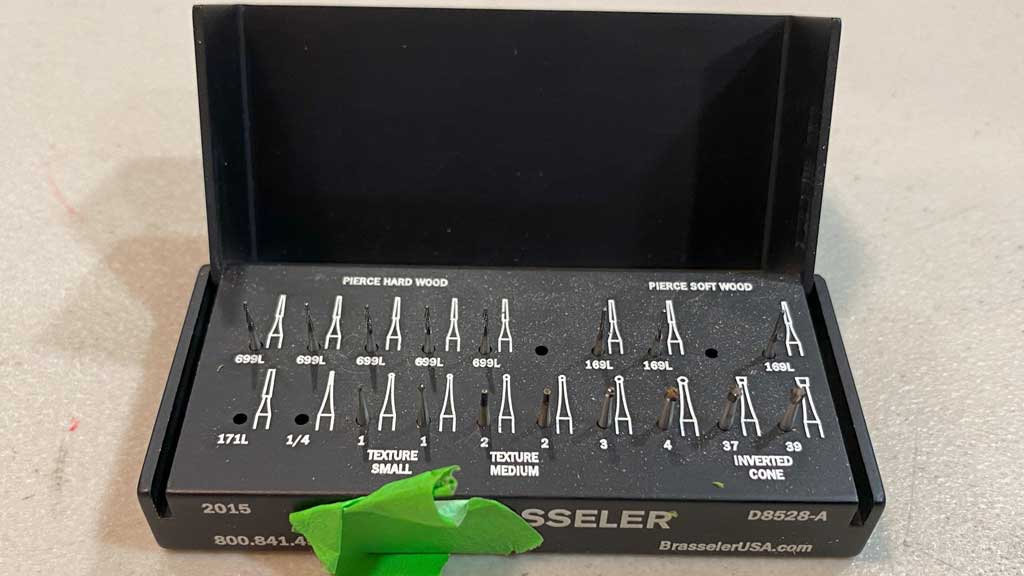
Dave’s tool of choice is the NSK Presto II. It does not require oil and accepts 1/16” shank bits. It requires a separate air compressor. The NSK runs at close to 400,000 rpm with the air pressure set at 35-40 psi. He has his dentist save used bits – he prefers the straight (not v-shaped) bits. Dave showed a set of piercing bits from BrasselerUSA.com that he originally got from the late Binh Pho. These are essentially tiny end mills. Dave doesn’t usually seal the wood with Shellac prior to piercing because that causes the bits to turn dull prematurely.
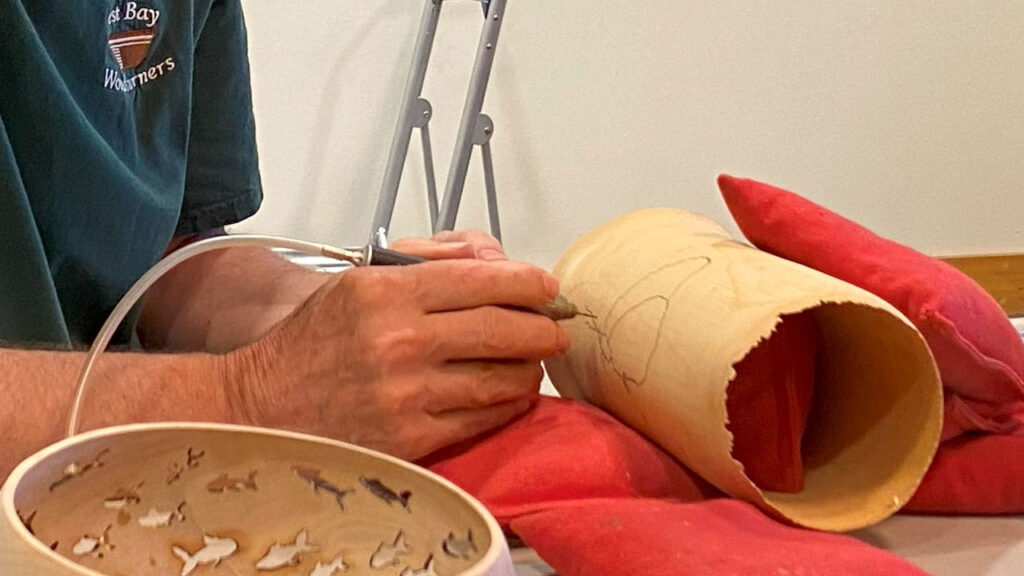
To perform his piercings, Dave tapes one side of a drawing in the desired position on the piece. He slips in a piece of carbon paper under the paper and traces the design onto the work. He then positions and cradles the piece using corn hole bags. To make each hole, he uses the tool to pierce the work, then works slowly around the hole in a clockwise direction. This leaves a slightly burned edge. To clean up the edge, he goes around the hole lightly in the counterclockwise direction.
Good lighting and ventilation is crucial. Dave typically works outside when piercing and uses a fan to blow the smoke away from him and the work. It is important to note that the piercing process creates lots of unhealthy smoke. It is important to avoid excessive inhalation with appropriate PPE.
Dave frequently embellishes his pierced works with paint. Dave talked about the use of interference paints which come white out of the bottle, but show up as iridescent against a dark paint when dry. He’s had mixed results using masking film. He typically uses Grex acrylic airbrush paint, undiluted.
There was a brief discussion of the use of laser cutters to pierce. In Dave’s experience, his laser cutter has a very narrowly defined focal point, so it is not very forgiving. He does use his laser cutter to make masking tape stencils for painting some of the details (such as his butterflies)
Some other options for piercing that aren’t pneumatic include:
- Dremel tool, not recommended, clumsy in the hand and rotation rate is too slow for piercing (up to 32,000 rpm). Available in a corded or cordless version.
- Foredom, better for carving, goes too slow for good piercing (18,000 rpm).
- Micromotor Rotary tool (35,000 rpm)
Presidents Challenge: turn 2+ identical spindles
Make two or more detailed spindles as identical as you can manage.
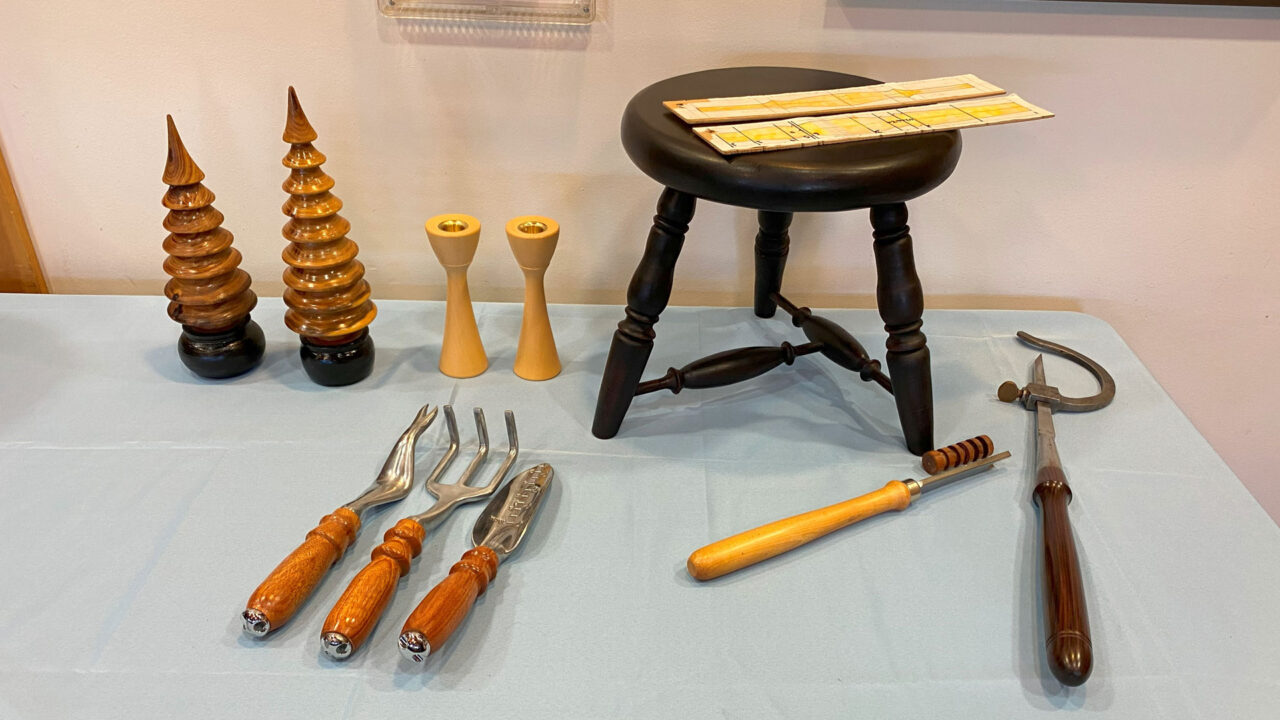
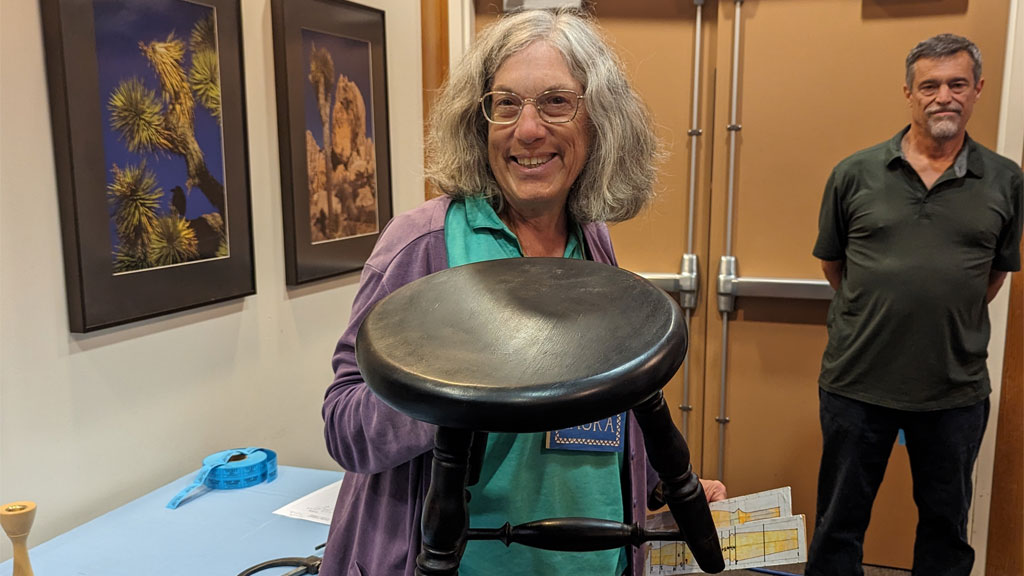
Laura Rhodes showed a three-legged stool made from poplar. She had brought this stool, an early turning attempt, to her very first WBW meeting a couple of years ago. The stool is finished using a technique borrowed from Curtis Buchanan, a Windsor chair maker. The stool was painted with two coats of red milk paint and topped with two coats of black milk paint. The black surface with then rubbed down with a Scotch Brite pad to reveal hints of the red underlayment. The stool was then topped with Danish oil.
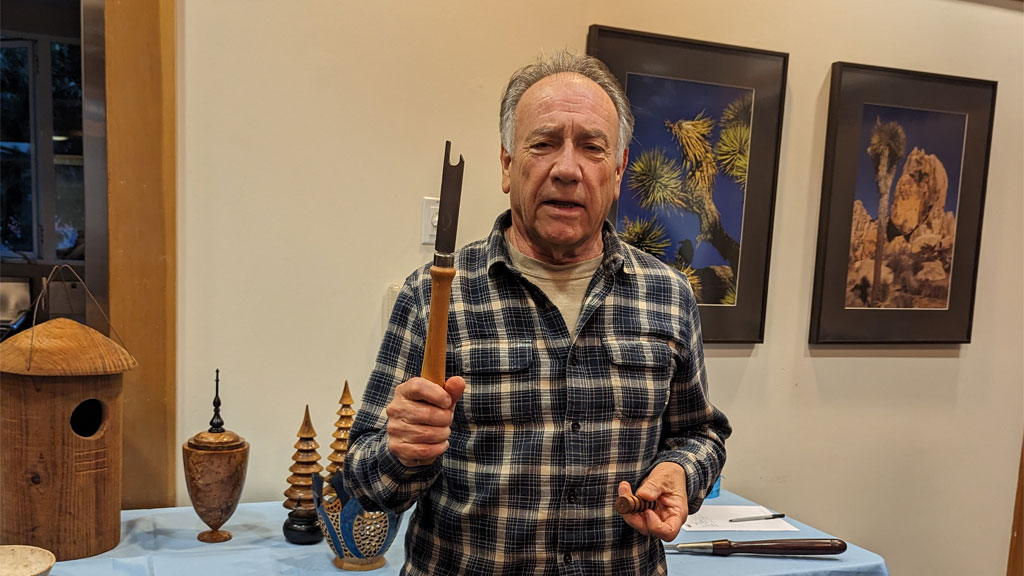
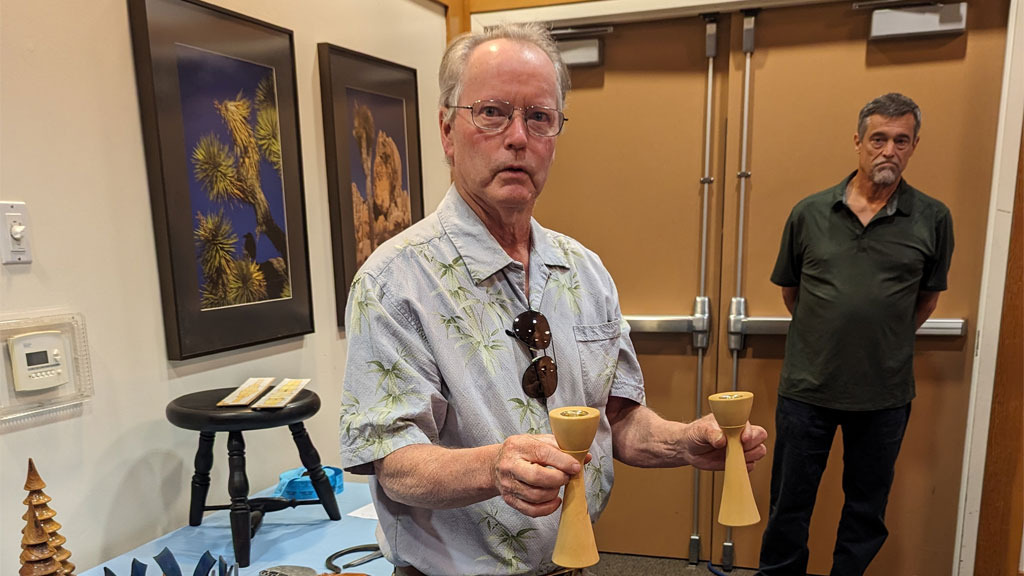
Jon Sauer brought a couple of spindle sizing tools. The first (made by Lemco) is one of a set of precision notching tools. You start with the tool one way to begin the notch. Then you turn the tool over, push in to precisely cut the notch to a known depth. Jon showed a demo piece with the different width/depth notches cut from his tool set. Jon also showed a Victorian-era sizing tool with a refurbished rosewood handle.
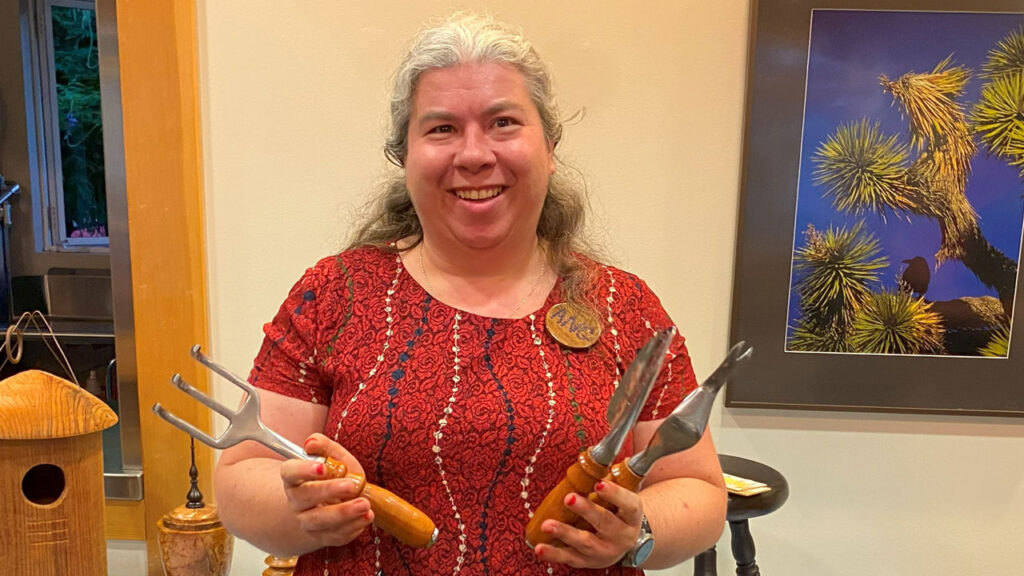
Angela Gunn brought a trio of garden tools made from a turning kit her daughter bought for her. She cut a cardboard pattern with the desired shape and then proceeded to try to match it when turning the first handle (of an unknown wood). She then modified the cardboard pattern to more resemble the actual turned shape and then turned the second handle. And so on for the third handle. She indicated that the tools aren’t sturdy enough to use in the garden, but she plans to incorporate them as part of the decoration in her living green wall.
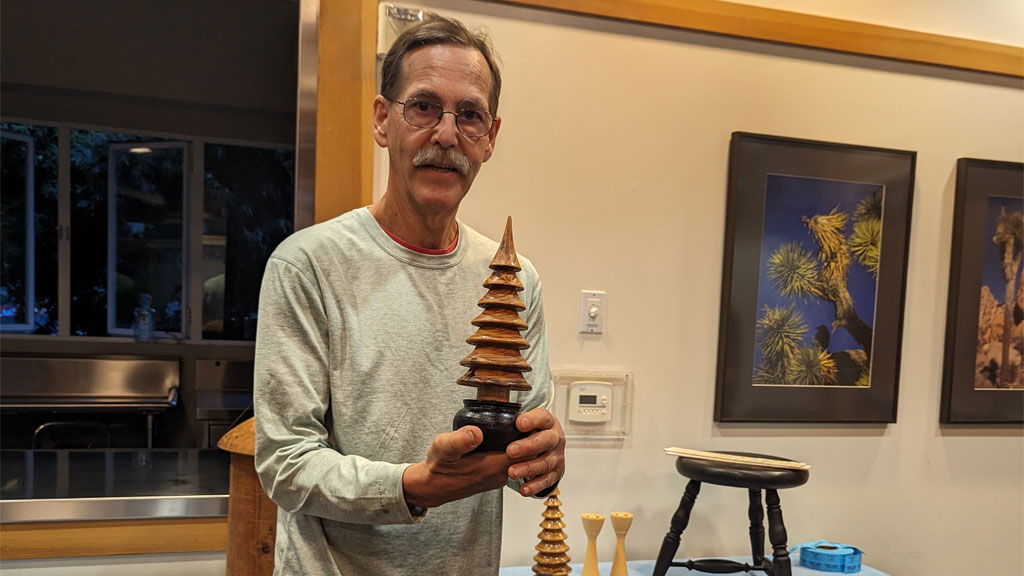
Kelly Smith tried to duplicate a locust wood Christmas tree that he had made previously. The cauldron-shaped base on the new one is a little larger than the original, but Kelly really liked the shape and decided to keep it that way.
Show & Tell:
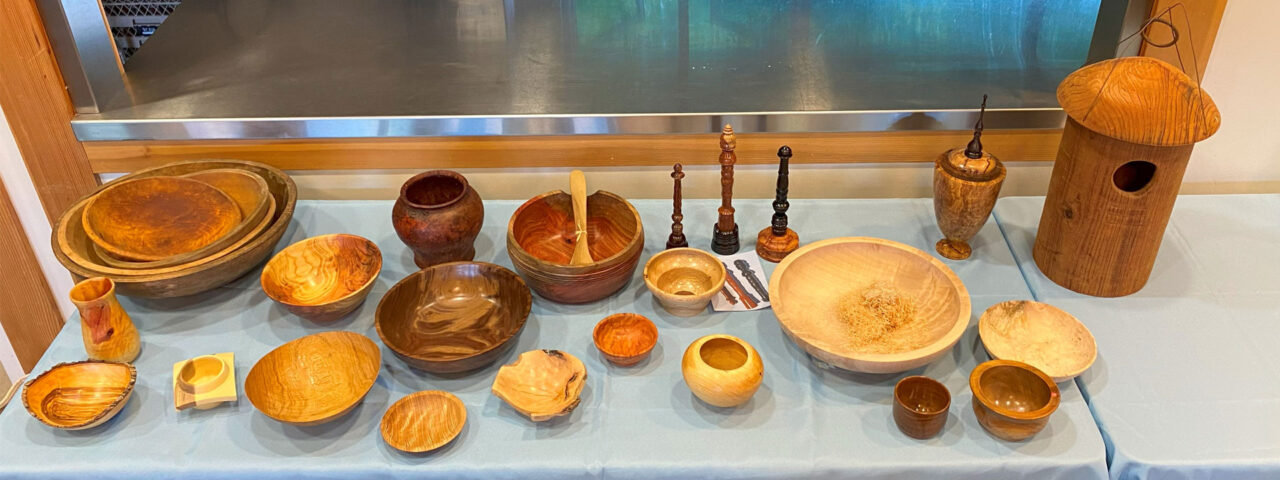
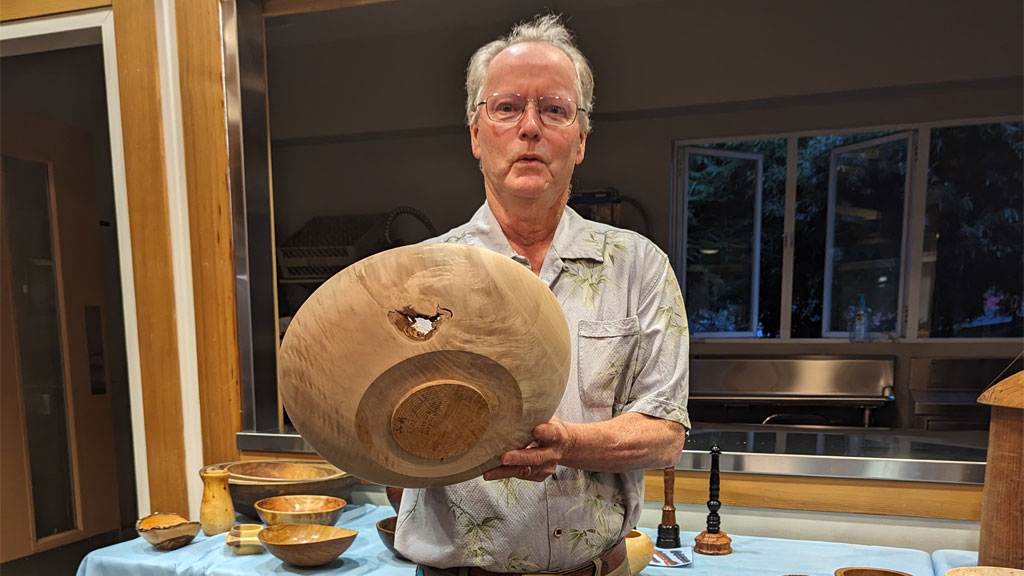
Dennis Lillis showed a big leaf maple crotch bowl with a hole. He then proceeded to describe the steps he would take to patch the hole. He would knock out any remaining bark and put tape on the outside of the bowl covering the hole. He would then pack in angel-hair type shavings into the hole and top with a light amount of medium CA glue. This would provide a sufficiently rigid base to inlay stone on both sides of the hole.
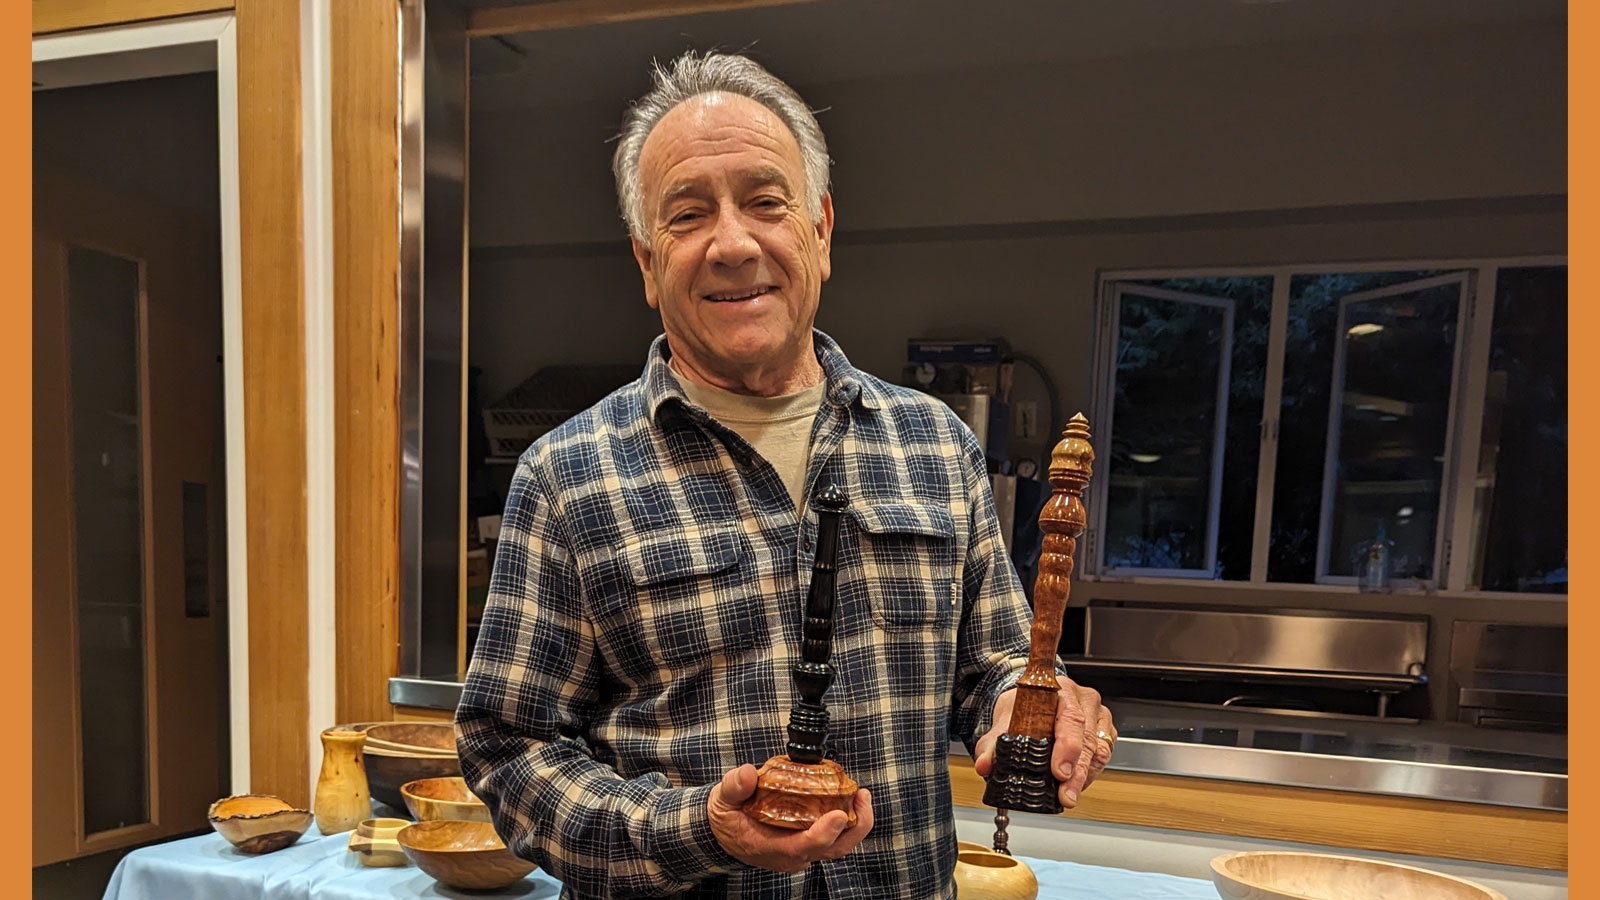
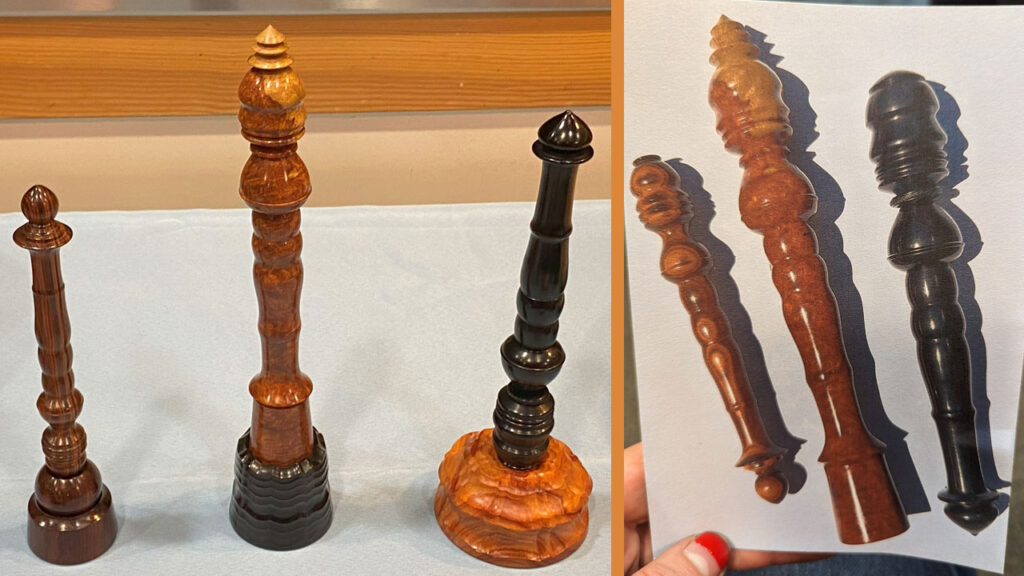
Jon Sauer brought in a set of Lady spindle turnings that cast the shadow of the female form (upside down). One stood on an ornamental-turning stand of tulipwood. One had a captive ring necklace. One had a stand of amboyna burl and blackwood.
Visit Jon’s website: https://www.jonsauer.com/
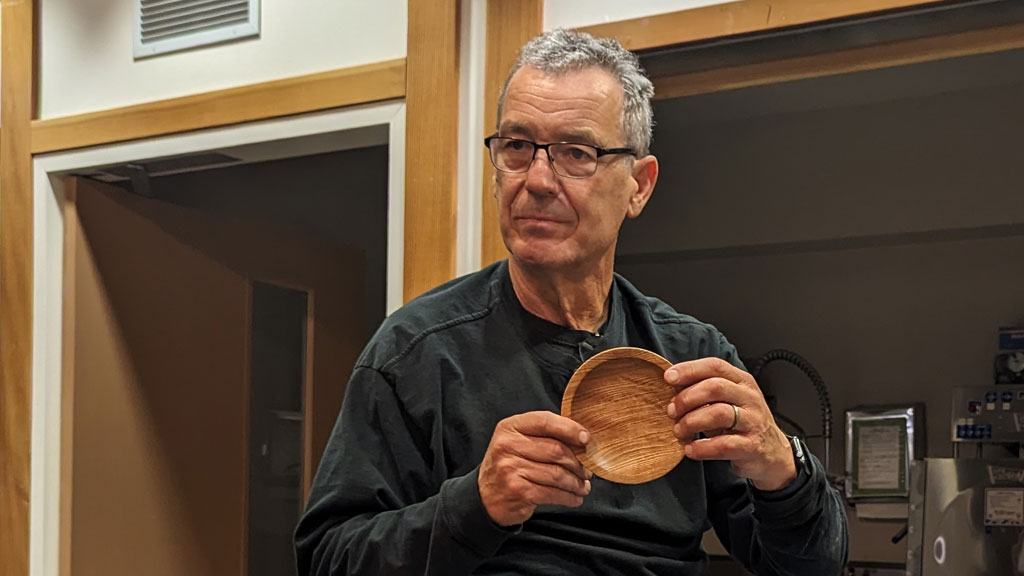
Jon Bishop showed two small bowls. He was especially pleased with the curved bottom inside the base of one of them that looked like the continuation of the outside of the bowl.
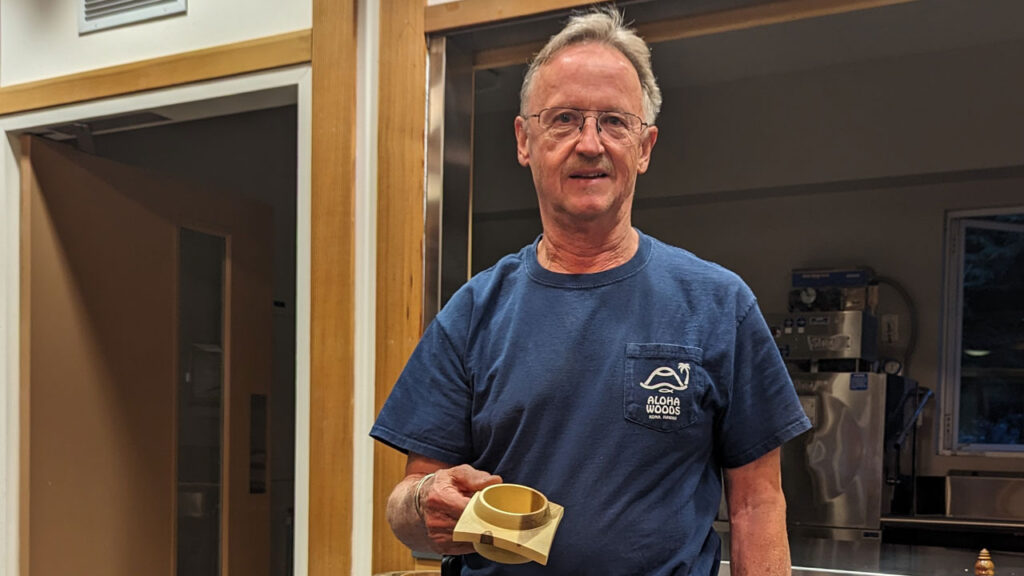
Tom Gaston showed a nut bowl with wings turned from an orange tree. He also brought a pepperwood vase that was turned green. As the vase dried, it moved quite a bit and voids opened up. Tom also brought a carob salad bowl. The rim had a defect, so he cut it out, leaving a semi-circular dip perfect for holding the ends of the olivewood serving utensils he bought in Europe.
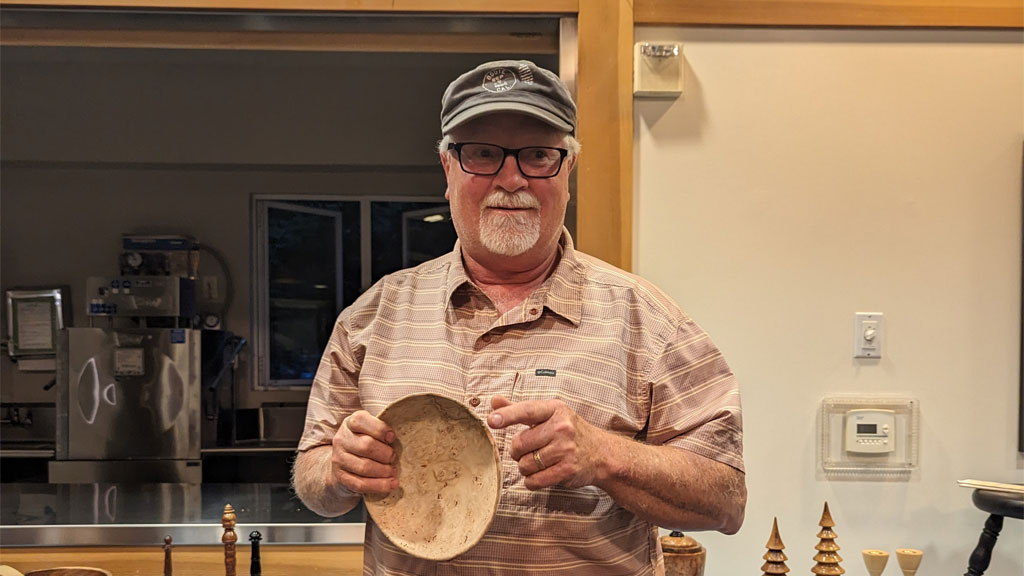
Jim Koren’s neighbor had two burl rounds of pepperwood. He turned a bowl out of part of one of the rounds and the bowl is already starting to move. Jim is curious if the bowl will develop the same kind of voids that Tom’s pepperwood vase did.
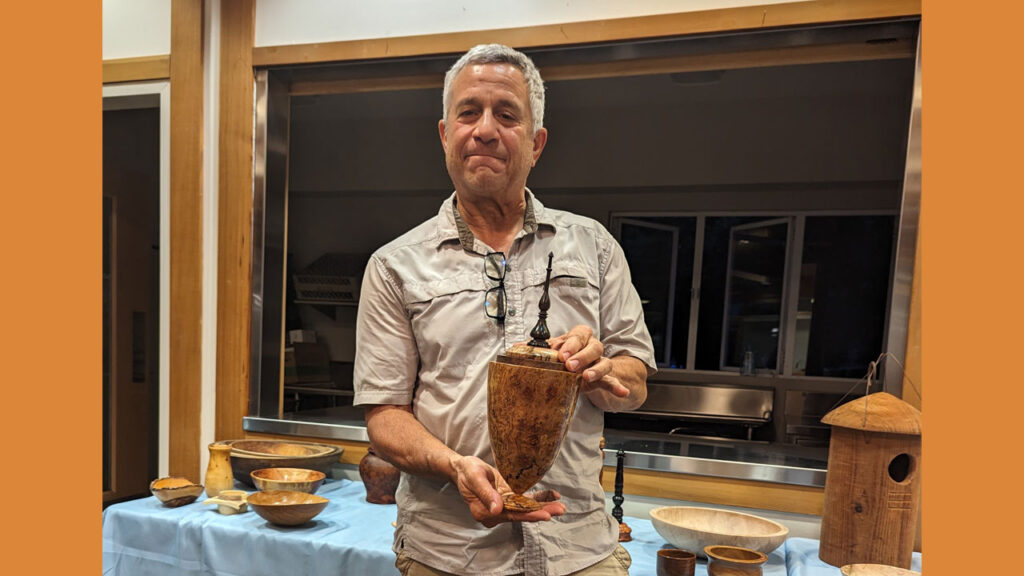
Bob Bley showed a hollow form made from Tasmanian Eucalyptus burl with a walnut ring and a blackwood finial. The top is held on with a gold-plated threaded ring from Lee Valley. Bob included an inlayed piece of turquoise as a “surprise” on the underside of the lid.
Bob is the inventor and producer of the Black Hole Dust Catcher System.
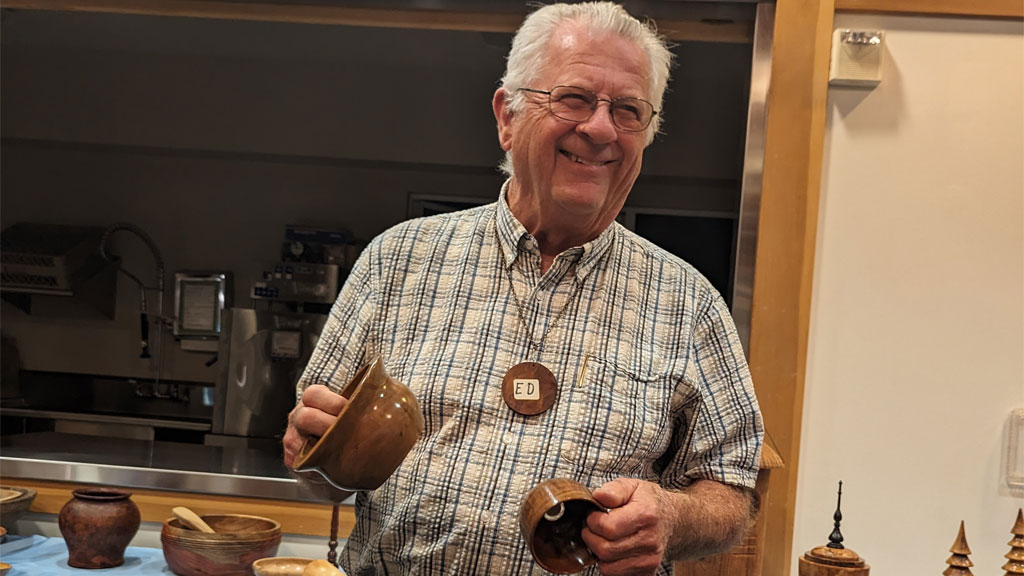
Ed Howes had two small bowls that were inadvertently turned into funnels. He saved the work by filling the holes in the bottoms with resin encapsulating a coin.
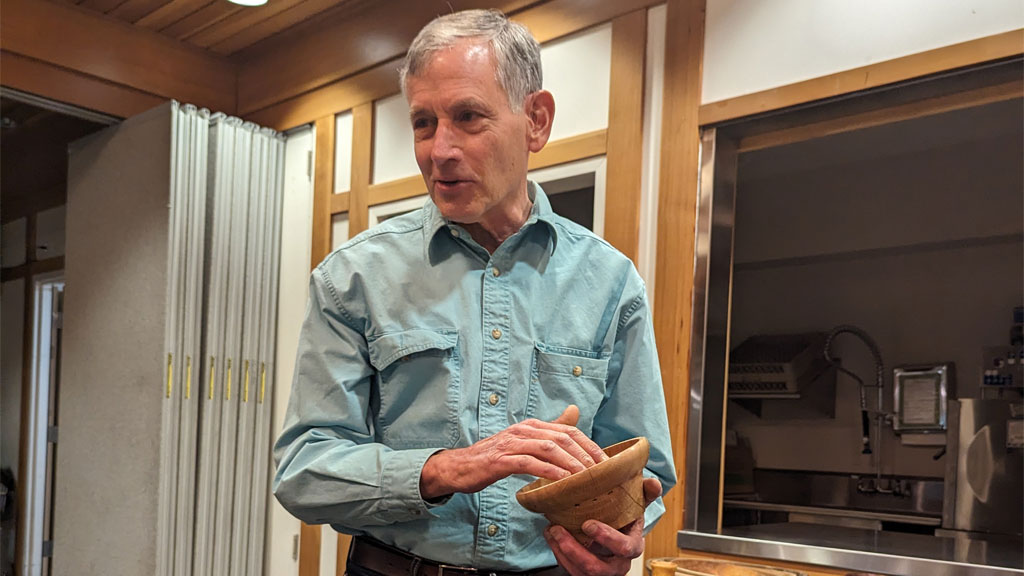
Tom Mandle showed a black oak bowl. It also had a hole in the bottom that he was able to patch with a T-shaped walnut plug that was then turned to blend in.
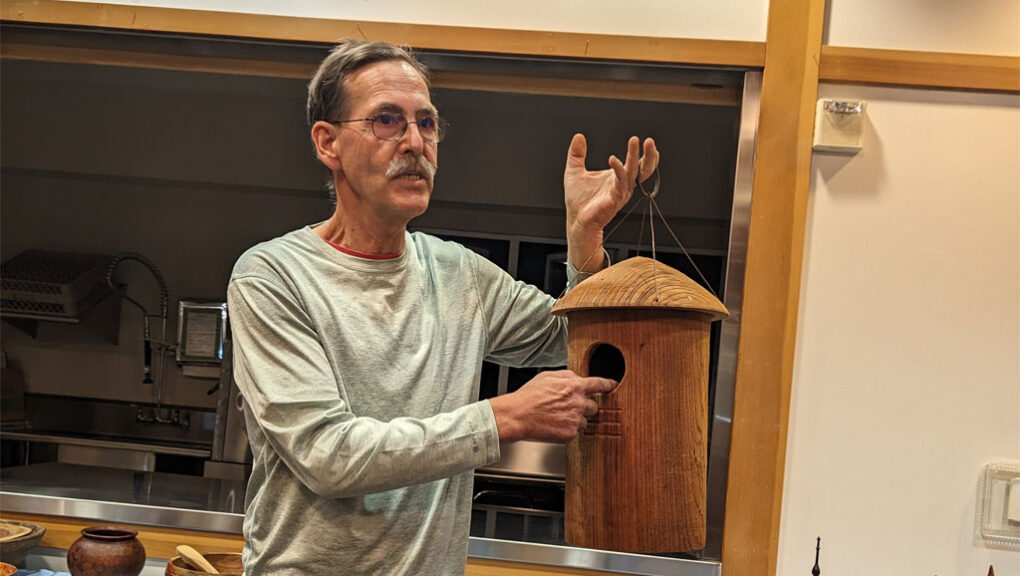
Kelly Smith turned an enormous nesting box for a Redwood Screech Owl or a Saw-Whet Owl. He cut the hole in the front with a jigsaw and had some retro iron rings for hanging. It took him a long time to hollow. If he were to make another, Kelly said he probably would go with stave construction. Kelly also brought an ash bowl with a pointy bottom, a redwood bowl finished with polyurethane, a Hollywood juniper pot, and an olive live edge bowl with a CA glue finish with polyurethane on top. Kelly also brought the paper-thin bowl that Mike Mahoney turned at his demo, finished with polyurethane and repaired after accidentally bumping it off the shelf.
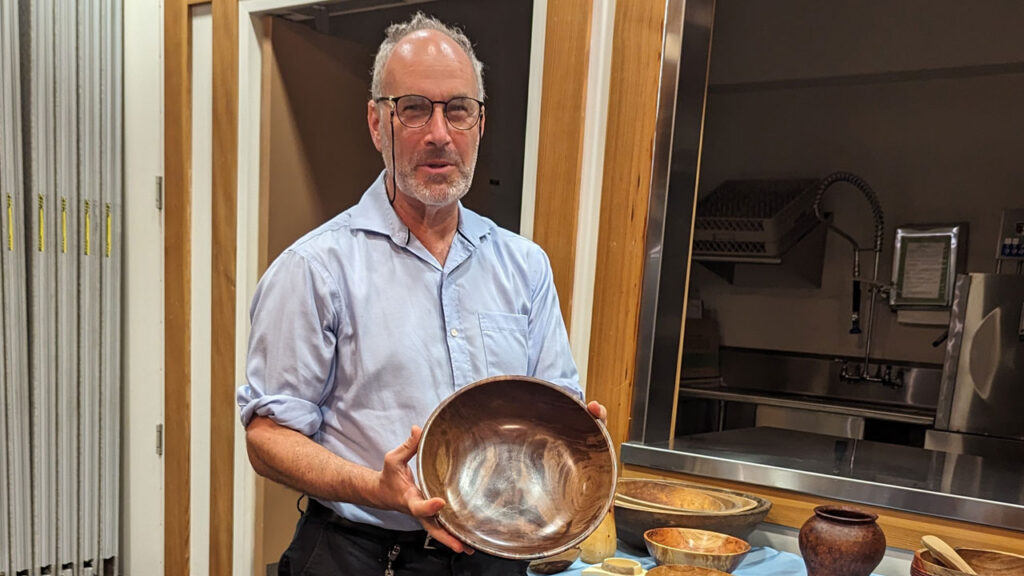
Tom Stutz showed four large wooden bowls from his dad’s estate. He remembers them being used for turkey stuffing during his childhood. A couple of the bowls were marked with the Munising brand.

“As the Wood Turns” by Dave Vannier
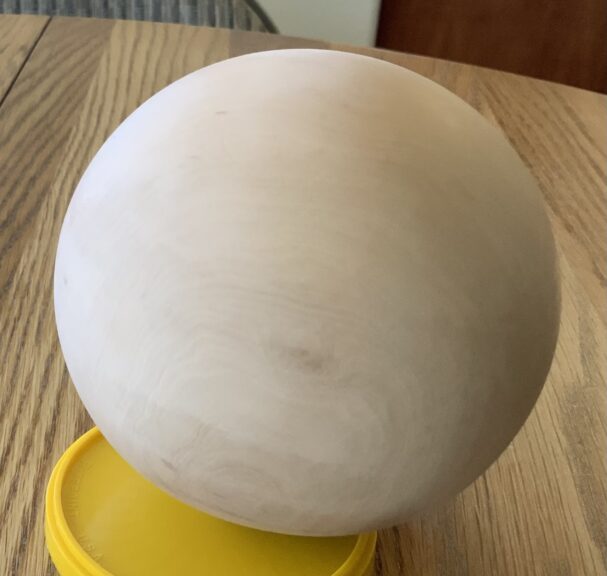
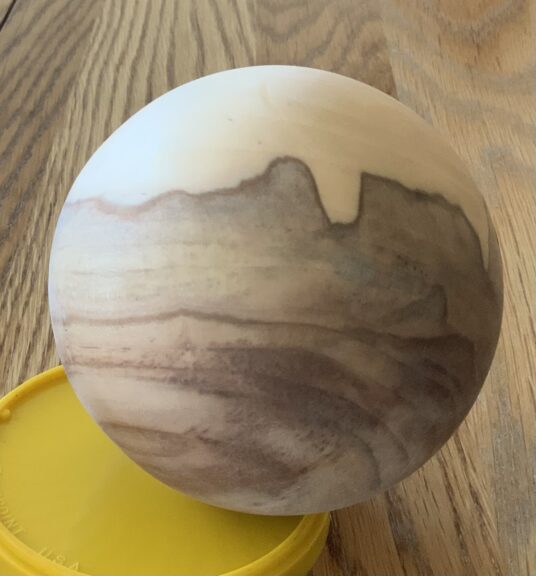
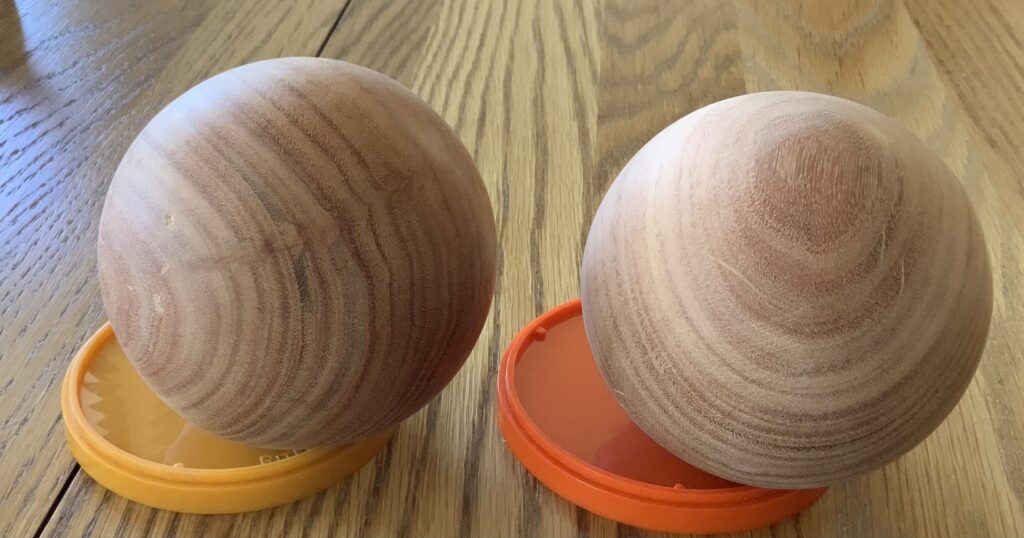
Spending time trying to absorb everything i learned at the symposium, both in sessions and the instant gallery. If you go, make sure you spend time in the gallery. It can be truly inspirational, even if the piece isn’t done all that well. You never know what direction it will send you. I watched Christian Burchard’s sphere demo on the recording. He used a slightly different process than I had tried in the past, with some good explanations of why. So, off we go. I found some dry wood, expecting it to be harder to work than the wet madrone he demo’s with, but they should be stable. The first 3 are pretty boring, round, but boring. Maybe i should have done some embellishment like he showed. So, I then took some of the very fragrant apple wood, which is very wet, and turned 3 more. Now the apple looks more interesting. But being wet, I expect it to move, so may have to return them later. We will see. Think I’ll try some smaller ones, but will need a new drive cup before I can do that.
Woodturners Newsletter Editing Notes
WBW members, if you have a personal website and would like it included in the President’s Challenge and Show & Tell sections of our Woodturning Newsletter, please let the newsletter editors know. Email us at info@westbaywoodturners.com.
WBW board members and committee chairs
President: Claude Godcharles
Vice President: Tom Gaston
Treasurer: Jon Bishop
Secretary: Laura Rhodes
Member at Large: Dean Caudle
Meeting Program Coordinator: Claude G acting
Visiting artist Coordinator: Dean Caudle acting
Anchor seal: Dennis Lillis
Craft Supply: Tina
Librarian: Kelly Smith
Audio Visual: Curtis Vose, Edgar Whipple
Website: Roman Chernikov
Woodturners Newsletter: Angela, Claude, David, Laura, and Roman



Leave a Reply